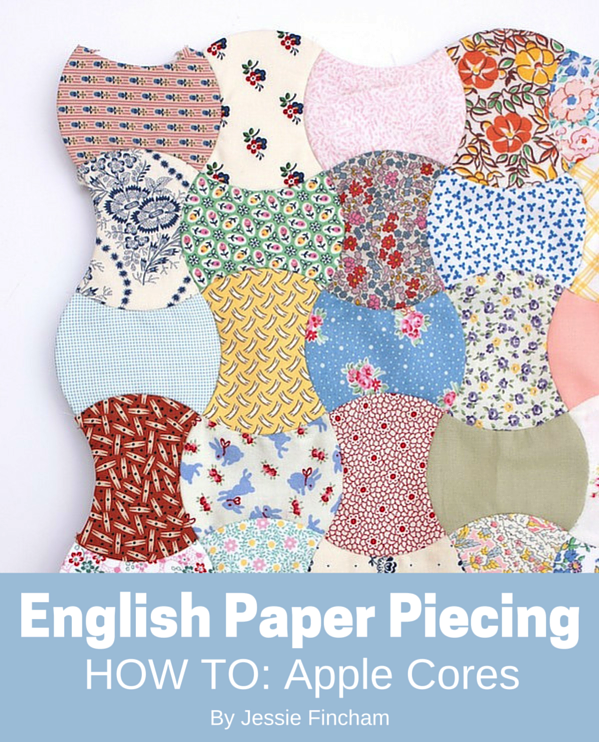
As I've been progressing with my English paper pieced, apple-core cushion, I thought I'd share a short guide on how I do my apple cores shapes (or Axe Heads, as they're sometimes known). I use the Sewline glue pen for curved shapes like apple cores and clamshells. Really I really cant recommend it enough for curves, I find its such an easier process than hand basting with a needle and thread. These days I glue baste most of my shapes for time-saving but I still thread baste larger straight-edged shapes.
So first things first. Take your paper shape and cut your fabric roughly 3/8" larger than the paper template. For speed, cut a strip from your fabric the correct width you need for your chosen template, then sub-cut into smaller sections to match the length of your template. Stack the pieces together and trim around the shape with scissors to make multiple pieces.
TIP: If possible, it's useful to use bias cut fabric. The bias cut has a stretch to it so you can manipulate corners and curves without bunching.
Snip into the two inner curves of the fabric. This allows makes it easier to turn the fabric over the paper template without it bunching. Try not to cut too deep so you loose the seam allowance and the shapes become weak when sewn together.
Now follow my lead and swipe your glue pen along the inner curve first.
(Note: I am left-handed, so these photos will look backwards to a lot of you, I glue from left to right and turn/baste the shape in a anti-clockwise direction, if you're right-handed you will do the opposite, I think?)
Push the fabric firmly along the fist inner curve.
You might find it useful to pin your paper template and fabric together to avoid jolting the position.
Your first edge is now basted!
For the next side, swipe the glue pen and push the fabric allowance into the outer curved edge. Hold the glue pen just as you would a regular pen - there's no need to let go of it between sides.
Outer curves are a little bit trickier than inner curves, which is why we start with that one first. Remember to push firmly so you have a nice smooth edge without bumps.
Most importantly you want your corners as neat as possible, which makes sewing the shapes together much simpler. So really try and push and flatten the corners as you start and finish on each side.
Work the next inner curve and then finish with the final outer curve.
I use more glue than I would for straight-edge EPP shapes as you want them staying put, but still, you don't need tons of the stuff. If you need to re-shuffle the edge to get it lying smoother, do it quickly as it goes tacky quite fast.
Here's your basted apple core! Those tails will be covered when we join the shapes together so you don't want to cut those tails off.
I'll be back tomorrow for part 2 of the guide on how to join them together, as it's a photo heavy post.
If you're looking for more tutorials and guides, you can find my complete EPP basics guide here. I'm using the 3" size apple cores for this tutorial (which is measured by the length of the shape) you can find them in my shop here.
